

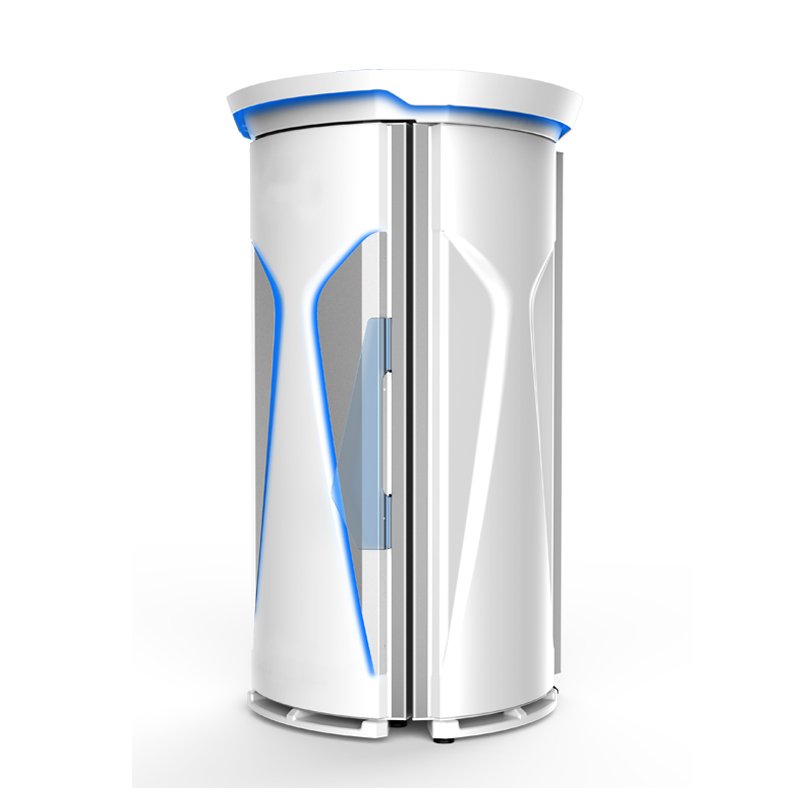
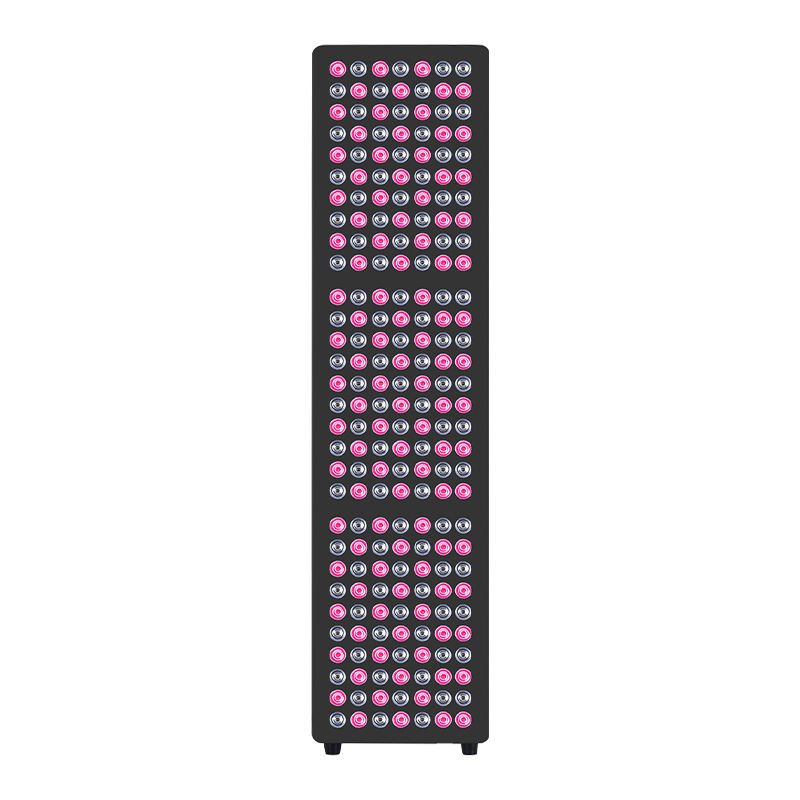
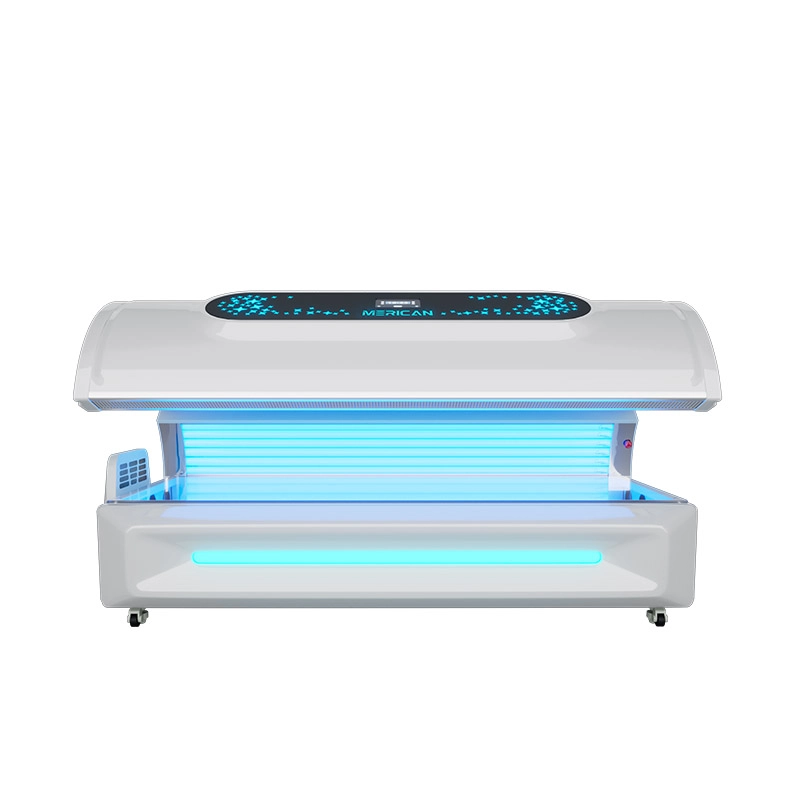


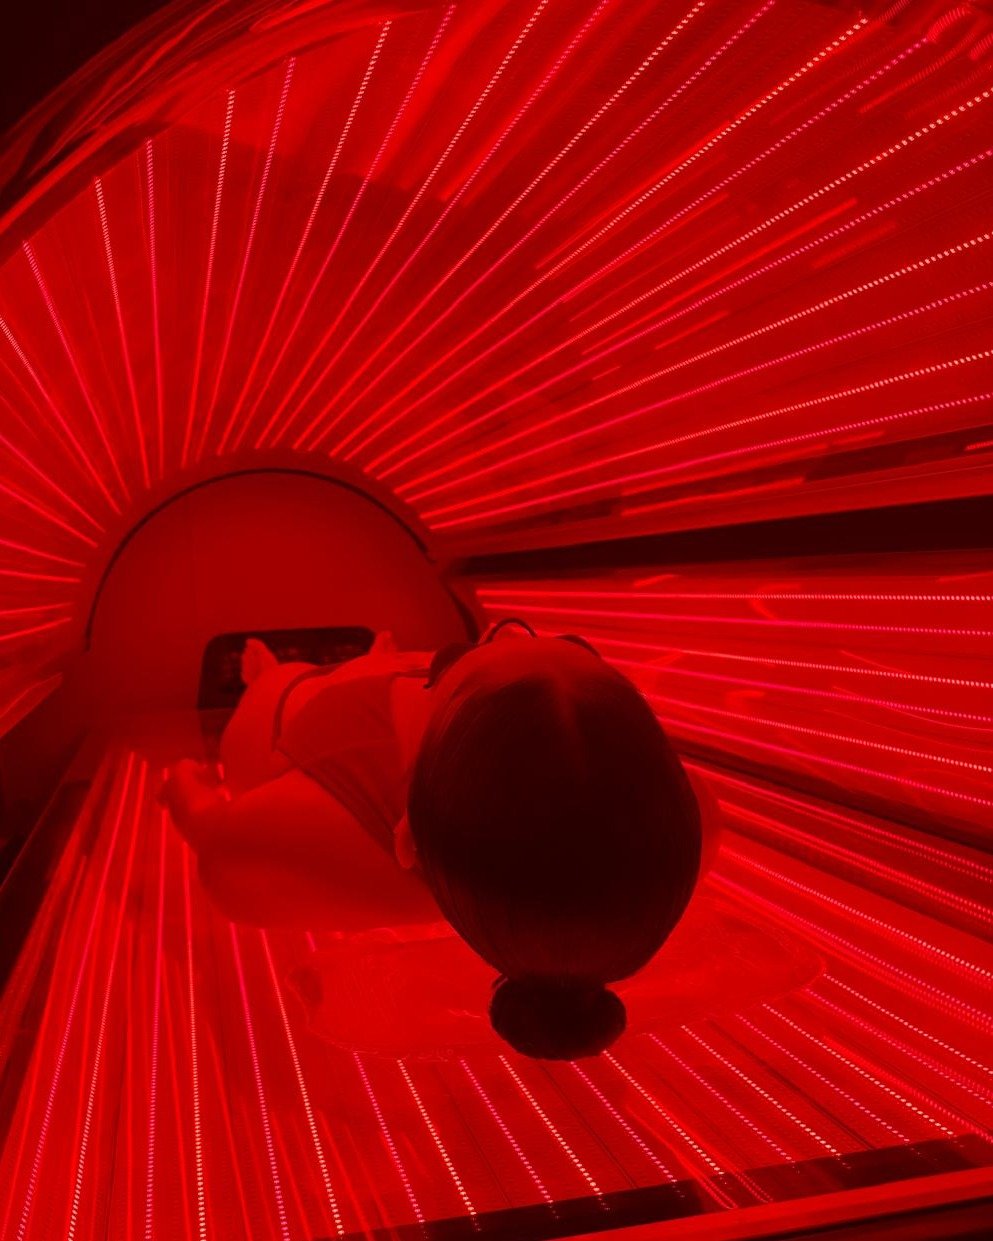
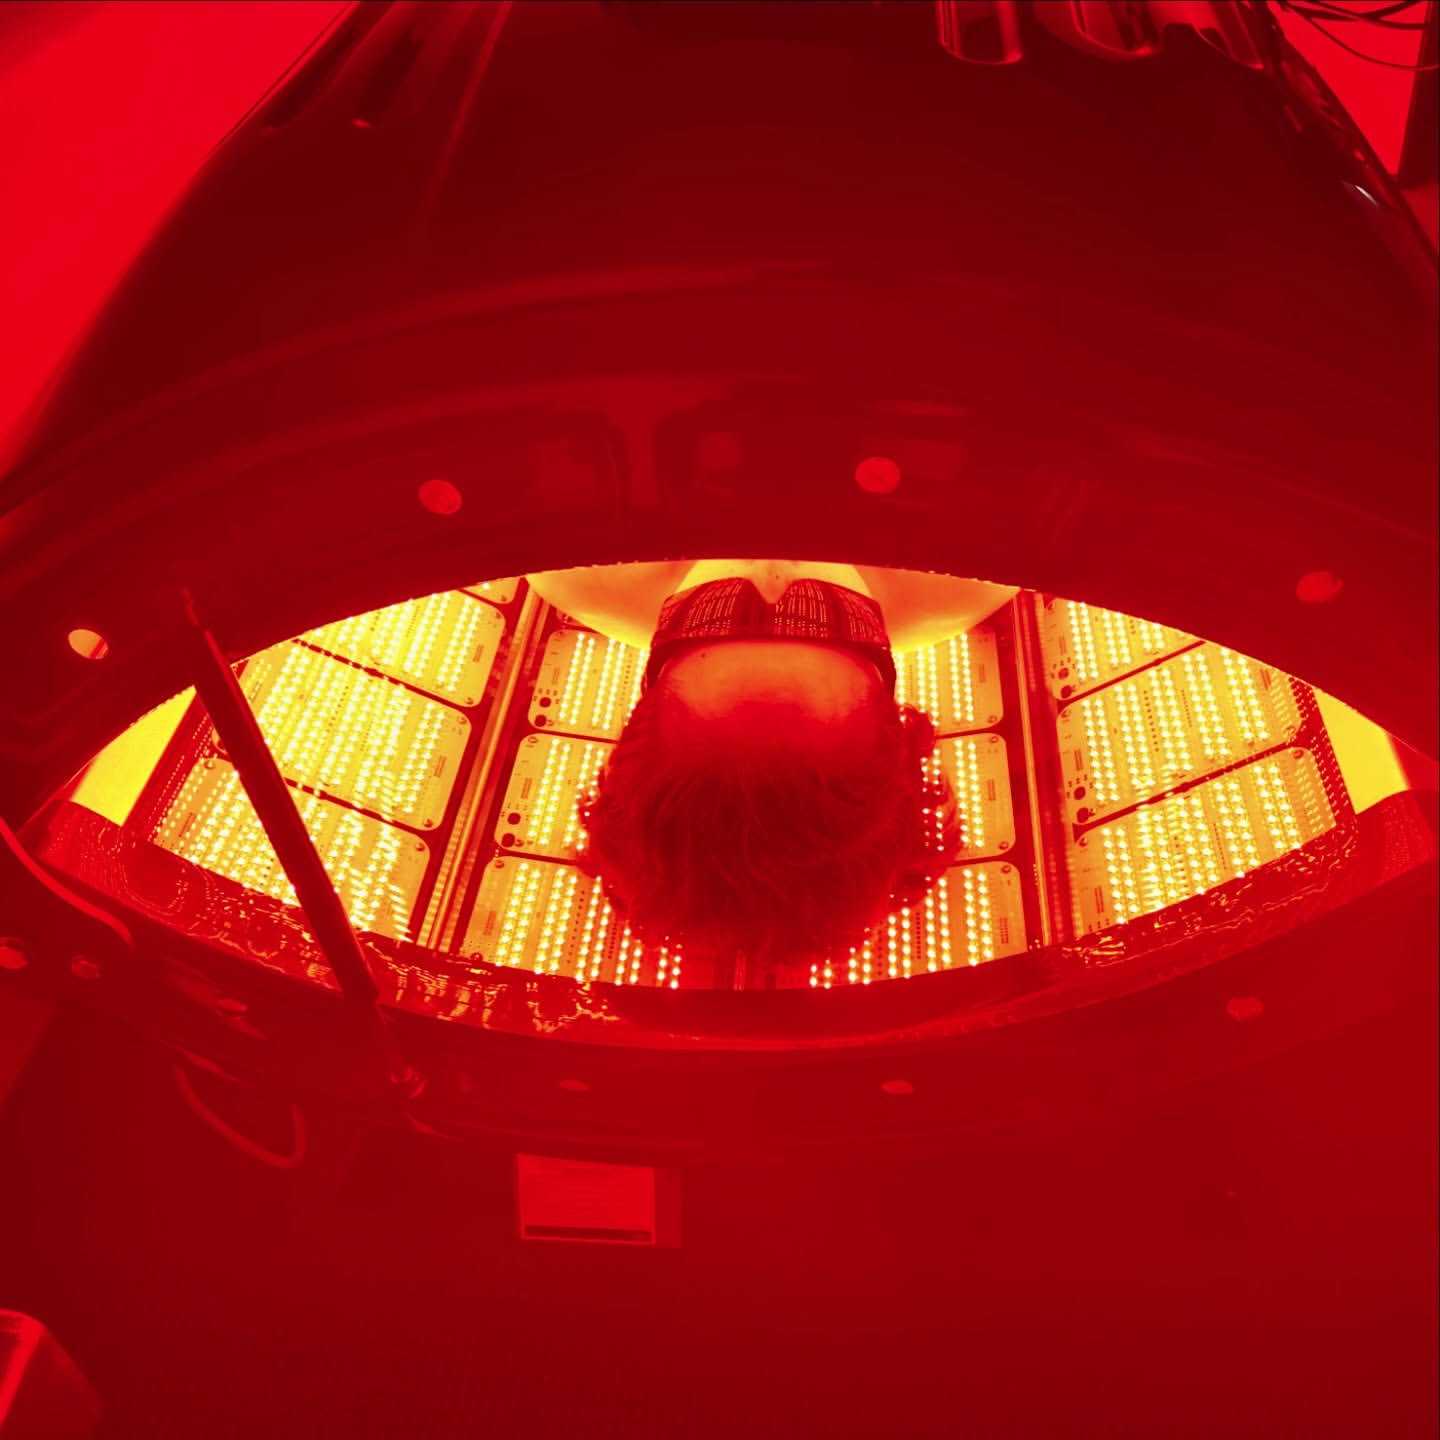
Imagine stepping into your own home sanctuary where a gentle, crimson glow cradles you, ushering in cellular rejuvenation, easing discomfort, and guiding you toward vibrant health. That’s the promise of red light therapy (RLT)—a non-invasive technique once confined to dermatology clinics and elite sports centers, now distilled into user-friendly devices you can operate in your living room. Whether you’re seeking firmer skin, faster muscle recovery, relief from chronic aches, or simply a mood lift and deeper sleep, this comprehensive guide will walk you through every aspect of setting up, using, and optimizing red light therapy at home. You’ll discover which devices suit your goals, how to tailor sessions to your lifestyle, the science that powers each photon, and two bonus features—a gallery of real-world success stories and a handy Dos & Don’ts reference chart. By the end, you’ll be equipped to transform ordinary evenings into healing rituals, unlocking the full potential of red and near-infrared wavelengths to renew your body from the inside out. 

1. The Rise of Red Light Therapy: From Clinics to Your Living Room
Over the past decade, red light therapy has vaulted from niche medical applications to mainstream wellness. Originally developed in NASA research to stimulate plant growth in space, scientists soon discovered that specific light wavelengths also enhance human cellular function. Early adopters in physical therapy clinics noted accelerated injury recovery, while cosmetic specialists praised its wrinkle-smoothing effects. As consumer demand surged, manufacturers miniaturized these systems, giving rise to panels, handheld wands, masks, and even bedside lamps tailored for home use. Today’s market offers devices that deliver precise wavelengths between 620 and 850 nanometers—spectrums scientifically shown to penetrate skin and subcutaneous tissue, invigorating mitochondria and promoting repair throughout the body. What once required professional guidance can now be integrated seamlessly into your evening routine. From budget-friendly desktop lamps to premium full-body panels, the democratization of RLT empowers individuals to take charge of their own healing. Yet with choice comes complexity: how do you sift through myriad products, calibrate session times, and measure progress? This guide will demystify the essentials, equipping you with the knowledge to harness red light’s benefits safely and effectively, right from your home.2. How Red Light Therapy Works: Science Behind the Glow
At the heart of red light therapy lies a fundamental interaction between photons and cellular mitochondria—the organelles responsible for energy production. When red (approximately 620–700 nm) or near-infrared (700–850 nm) light penetrates the skin, it is absorbed by cytochrome c oxidase, a key enzyme in the mitochondrial respiratory chain. This absorption triggers a cascade of reactions:- ATP Boost: Cytochrome c oxidase activation accelerates adenosine triphosphate (ATP) synthesis, supplying cells with the energy needed for repair, growth, and detoxification.
- Nitric Oxide Release: Red light facilitates the transient release of nitric oxide, widening capillaries and improving microcirculation to deliver oxygen and nutrients more efficiently.
- Anti-Inflammatory Effects: Photobiomodulation downregulates pro-inflammatory cytokines and elevates anti-inflammatory mediators, easing pain and swelling.
3. Home vs Professional Red Light Therapy: Pros and Cons
Deciding between at-home devices and clinic-grade systems involves weighing convenience, cost, and customization:- Convenience: Home units allow you to schedule sessions around your life—no appointment bookings or travel time. Ideally, you can integrate RLT into morning rituals, lunchtime breaks, or evening wind-downs.
- Cost: While professional clinics may charge per session (often $50–$100), a one-time purchase of a home device can pay for itself within months if you commit to regular use.
- Customization: Clinic-grade panels typically offer higher irradiance (power density) and adjustable wavelengths, allowing therapists to fine-tune protocols. Many home devices, however, now feature dual wavelengths and programmable timers to accommodate diverse needs.
- Safety: Under professional supervision, risk of misuse is minimal. At home, understanding manufacturer guidelines and adhering to recommended distances and durations is crucial to avoid overexposure or suboptimal results.

4. Choosing the Perfect Device for Your Needs
With hundreds of options flooding the market, selecting a red light therapy device can feel overwhelming. Focus on these five criteria to narrow your search:- Wavelength Specification: Look for devices that clearly list emission wavelengths. For skin health and collagen stimulation, prioritize red light around 630–670 nm. For deeper tissue and muscle repair, near-infrared wavelengths near 810–850 nm are optimal. Many premium units offer a combination of both wavelengths to tackle multiple goals in one session.
- Power Density (Irradiance): Measured in milliwatts per square centimeter (mW/cm²), irradiance dictates how much energy reaches your tissues. Aim for at least 20 mW/cm² at the treatment distance; ideal devices often range from 30 to 100 mW/cm². Higher irradiance reduces session time but may increase heat—balance your comfort with efficiency.
- Coverage Area: Handheld wands excel for spot treatments but can be tedious for larger areas. Panel devices cover broad surfaces—full faces, backs, or even entire bodies—enabling simultaneous treatment of multiple regions. Assess the size of the areas you wish to target and choose accordingly.
- Safety and Certifications: Ensure the device is FDA-cleared or CE-marked, indicating it meets rigorous safety and performance standards. Warranty length and manufacturer support are also critical; look for at least a one-year warranty and accessible customer service.
- User Experience: Consider ease of assembly, portability, and control interface. Touch-screen panels, smartphone app integration, and foldable designs enhance usability, encouraging consistent use over time.
5. Setting Up Your Red Light Therapy Sanctuary
Your environment plays a pivotal role in maximizing RLT’s benefits. Follow these guidelines to create a dedicated therapy space at home:- Room Selection: Choose a quiet, well-ventilated area with minimal ambient light. A spare bedroom, home office corner, or a section of your living room can all work. Reducing competing light sources ensures you receive uninterrupted wavelengths directly onto your skin.
- Device Placement: Position panel units on a stable stand or mount them on an adjustable tripod. For handheld devices, equip a nearby table to rest the unit during breaks. Maintain the manufacturer-recommended distance (usually 6–12 inches) from your skin for uniform exposure.
- Comfort Enhancements: Add a cozy chair, yoga mat, or massage table for prolonged sessions. Soft background music, aromatherapy diffusers, or a guided meditation app can elevate the relaxation factor.
- Eye Protection: Even non-UV red light can cause glare or mild discomfort. Use protective goggles supplied with your device or invest in wraparound eyewear rated for RLT wavelengths.
- Timing Tools: Incorporate a timer—built into most devices or via a smartphone app—to track exposure and prevent overuse. Consistency in session length and scheduling fortifies circadian cues and therapeutic efficacy.
6. Step-by-Step User Guide: How to Use RLT Safely and Effectively
Adhering to a standardized protocol ensures you reap the full spectrum of RLT benefits while minimizing risks:- Cleanse Your Skin: Gently wash away makeup, oils, and dirt to allow unobstructed light absorption. Pat dry with a soft towel.
- Set the Wavelength and Intensity: If your device offers multiple settings, choose red (630–670 nm) for skin goals or near-infrared (810–850 nm) for deeper tissues. Adjust irradiance per manufacturer guidelines—beginners may start at lower power for the first few sessions.
- Maintain Proper Distance: Position the device 6–12 inches from the treatment area. For handheld units, hold steady or rest on a stable surface; for panels, situate your body so the light uniformly bathes the target zones.
- Session Duration: Beginners should begin with 5–10 minutes per area. Gradually increase to 15–20 minutes as tolerated, up to a maximum of 30 minutes. Overexposure offers no added benefit and may lead to heat discomfort.
- Session Frequency: Aim for 3–5 sessions per week, depending on your goals. Skin rejuvenation often benefits from daily use, whereas muscle recovery may require sessions only after intense workouts.
- Protect Your Eyes: Don goggles before activating the device, especially when treating near the face or head region.
- Post-Session Care: Apply soothing serums or moisturizers immediately after RLT to lock in hydration and amplify collagen synthesis. Drink water to support systemic detoxification.
7. Maximizing Your Sessions: Combining RLT with Lifestyle Practices
Integrating red light therapy into a broader wellness framework amplifies results. Consider these complementary strategies:- Nutrition: Fuel cellular repair with antioxidant-rich foods—berries, leafy greens, fatty fish, and nuts—to combat free radicals and support collagen formation.
- Hydration: Well-hydrated cells absorb light more efficiently. Aim for 2–3 liters of water per day, adjusting for activity level and climate.
- Restorative Sleep: Use RLT sessions in the evening to modulate melatonin release and optimize sleep architecture. Pair with blue-light blockers on screens and a cool, dark bedroom environment.
- Mind-Body Practices: Combine with yoga, deep-breathing exercises, or meditation to amplify parasympathetic activation, reducing cortisol and enhancing repair.
- Exercise: Schedule RLT within one hour post-workout to accelerate muscle recovery and mitigate delayed onset muscle soreness (DOMS).
8. Avoiding Common Pitfalls: Five Mistakes to Sidestep
Even with the best intentions, missteps can blunt RLT’s advantages. Watch out for these:- Skipping Eye Protection: Red light can cause glare that leads to eye strain. Always don-rated goggles for facial sessions.
- Inconsistent Use: Irregular sessions dilute benefits. Establish a ritual—same time, same place—to reinforce habit formation.
- Incorrect Distance or Angle: Too close can produce heat discomfort; too far diminishes irradiance. Adhere to your device’s specified distance.
- Over-Exposure: More is not always better. Beyond 30 minutes per area, enjoy diminishing returns and potential skin redness.
- Neglecting Medical Advice: If you have photosensitive conditions or are on medications that increase light sensitivity, consult a healthcare professional before beginning RLT.
9. Tailored Routines for Specific Goals
9.1 Anti-Aging and Skin Rejuvenation
For smoother, firmer skin, focus on red wavelengths around 630–670 nm. Position the light panel 8–12 inches from your face for 15 minutes daily. Target common aging zones—forehead, crow’s feet, nasolabial folds, and jawline. After each session, apply a peptide-rich serum to amplify collagen synthesis. Expect to see subtle improvements in texture and tone within 4 weeks, with more pronounced results by 8–12 weeks.9.2 Muscle Recovery and Athletic Performance
Athletes can harness near-infrared wavelengths (810–850 nm) to penetrate deeper muscle tissue. Post-training, treat sore areas—quads, hamstrings, calves—for 10–20 minutes, three times per week. This routine enhances mitochondrial ATP production, reduces inflammatory markers, and shortens recovery time. Over a training cycle, many report reduced incidence of DOMS and improved endurance metrics.9.3 Pain Management and Inflammation Reduction
For joint pain or chronic inflammation, combine red (660 nm) and near-infrared (830 nm) wavelengths in a single session. Apply the panel over affected regions—knees, wrists, lower back—for 15–25 minutes, four times per week. Photobiomodulation downregulates COX-2 enzymes and inflammatory cytokines, offering relief comparable to low-level pharmacological interventions, without side effects.9.4 Mood Enhancement and Sleep Improvement
Research indicates that evening RLT sessions can boost melatonin synthesis and regulate circadian rhythms. Use a red light mask or small lamp 60 minutes before bedtime for 10–15 minutes. Keep ambient lights dim and avoid blue light devices immediately after. Users often report falling asleep faster, reduced nighttime awakenings, and more refreshing sleep within two weeks of nightly use.10. Expecting Results: What to Anticipate Before, During, and After
Understanding typical timelines can set realistic expectations and maintain motivation:- Immediate Sensations: Mild warmth or tingling at the skin surface is normal. No pain or phototoxic reaction should occur.
- Week 1–2: Increased skin radiance, subtle reduction in muscle soreness, and early improvements in mood or sleep patterns.
- Weeks 3–6: Noticeable improvements in fine lines, joint comfort, and enhanced recovery post-workout. Skin texture becomes more even, and redness from inflammation diminishes.
- Months 2–3: Cumulative benefits solidify—firmer skin, consistent pain relief, greater exercise capacity, and stabilized sleep cycles.
- Long-Term: With maintenance sessions (1–2 times per week), results can persist indefinitely, supporting overall vitality and healthy aging.
11. Extra Features
11.1 Feature A: Real-World Success Stories
Case Study – Jane’s Skin Transformation: A 45-year-old marketing executive used a 660/830 nm combo panel for 15 minutes nightly. Within eight weeks, she observed a 30% reduction in wrinkle depth around her eyes and a marked improvement in skin firmness, confirmed by both her dermatologist and a photoscreen analysis. Case Study – Mark’s Marathon Recovery: A seasoned runner integrated 15-minute near-infrared sessions post-long runs, three times weekly. Over three months, his perceived muscle soreness scores dropped by 40%, and he shaved two minutes off his personal best marathon time. Case Study – Sophia’s Sleep Reset: Struggling with shift-work insomnia, Sophia donned a red light mask 60 minutes before sleep. After ten nights, her sleep onset latency decreased from an average of 45 minutes to 15 minutes, and she awoke feeling more refreshed, as tracked by her sleep app.11.2 Feature B: Dos & Don’ts Quick Reference Chart
- Do cleanse skin and remove makeup before each session.
- Do wear appropriate eye protection whenever treating facial areas.
- Do maintain consistent session times and durations.
- Don’t exceed 30 minutes per area to avoid diminishing returns.
- Don’t use RLT on unhealed open wounds or active infections.
- Don’t ignore manufacturer guidelines for distance and power settings.

 EN
EN EN_GB
EN_GB DE
DE EL
EL ES
ES UZ
UZ FR
FR IT
IT JA
JA CS
CS DA
DA DE_AT
DE_AT FI
FI ET
ET HR
HR FR_BE
FR_BE HU
HU KO
KO IS
IS KA
KA LT
LT NL
NL UK
UK TR
TR SV
SV SR
SR SL
SL SK
SK RU
RU RO
RO PT
PT NB
NB AR
AR CY
CY